Plastering is an art in its self, not everyone can do it.
it takes years of training to build up the strength to put a wall on fast and tidy and make it look 100% perfect. but theres nothing to stop you having a go.
First tip
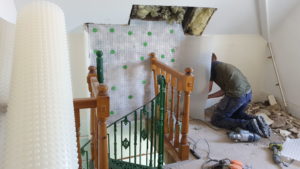
Its important to know what background your working on
is it… smooth? painted? old? does it have paint flaking off? cracks? does it sound hollow?
Whatever background it is, you need to identify the difference between a low suction background and high suction background, This takes some time learning and experience to identify. it’s important to find out if some parts of a wall are hollow, useally a good knock around the wall with your hand will identify the hollow and solid spots if a has a large amount of cracks it’s a common sign that the wall is in need of attention
Second tip
Start by completly emptying the room ( or as much as possible.
There’s nothing worse than tripping and falling all over things, its not a safe way of working its just not good practice to leaving something in your way that is just a hazard to a safe working environment other people could be at risk as well, not only that but its something that you need to cover up which will waste your time.
you also need to put some dust sheets down or carpet protection ( or hard floor protection )
Third tip
work out exactly what materials you need. the average 25kg bag of multi-finish plaster ( skimming ) will spread between 8 to 10-meter square. it would be a good idea to measure up the area required.
think about what pva unibond you need different brands have different effects and bond strenghts too strong and it can crack the finished plaster, too weak and the plaster will blow from the wall.
you may also need beading (thin coat beads), and maybe scrim tape and nails for the beads.
Fourth tip
Get the tools and equipment that you need.
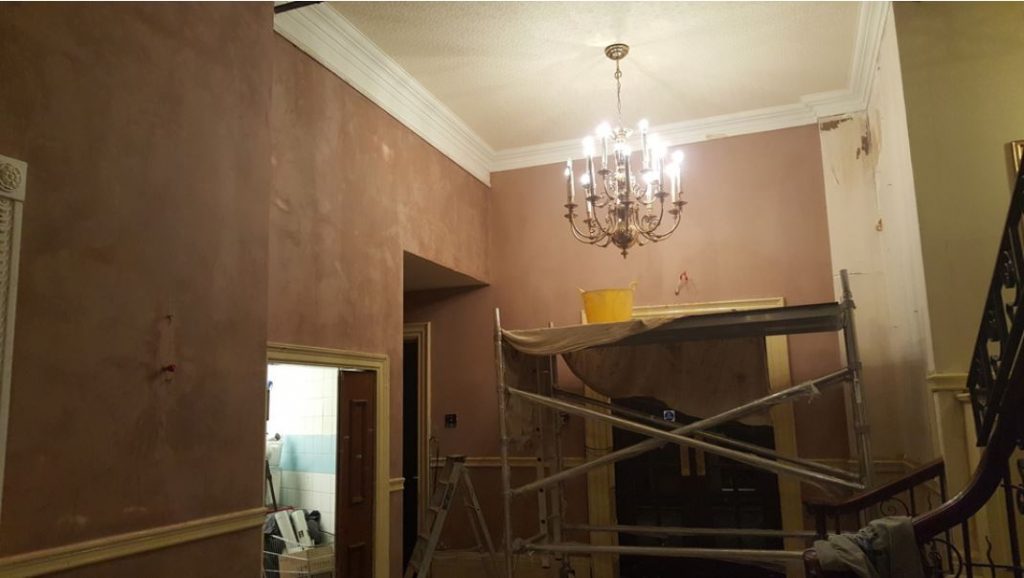
Depending on the type of work your doing you need to think about what you need, you may need step ladders, hop up threstle, scaffolding it will just depend on the height of your ceilings.
you will need buckets and mixing tubs, I carry at least 8 different buckets with me at all times but thats because im prepared and know what i need.
you might only need 5 buckets, 1 for mixing, 1 for unibond, 1 as a water bucket for cleaning off and 2 for mixing water
The tools you will need
- a Marshalltown trowel 14-inch stainless steel
- a handboard
- a bucket trowel
- one splash brush
- one angle brush
- a internal angle trowel
- one wash out brush
- a latt hammer or claw hammer
- tin snips
- tape measure
- a stanley knife
- a mixing drill with paddle ( or a ponch if you want to mix by hand )
- a extenstion lead
- a 110 volt transformer if you have a 110 volt mixer
Fifth tip
Give the walls a good coat or two of unibond, mix the unibond 40 parts pva 60 parts water for the desent pva,
Dont mix the plaster up until the wall is sticky and dont leave it too long after if its sticky, the idea is the unibond needs to dry along with the plaster so it bonds together it will make the plaster last a lot longer.
mix the plaster to the right constancy and lump free.
wet down your hand board and trowel and smear some plaster about your hand board this will provent the plaster sliding off on to the floor.
get the wall on as fast as possible but remember to be neat and tidy on the wall and the floor.